Help
Hardware Phones
Grandstream Series
Grandstream GHP61x Hotel Series
Prerequisites
Before you start, you need to know your VoIP username, password and the server that your number is connected to. You can do this from your Soho66 account, by clicking My Soho, then "Your Numbers", then the telephone number that you wish to connect to. The VoIP username and VoIP password are near the bottom of the page, in a section entitled "Voice over IP settings - For configuring your IP phone"
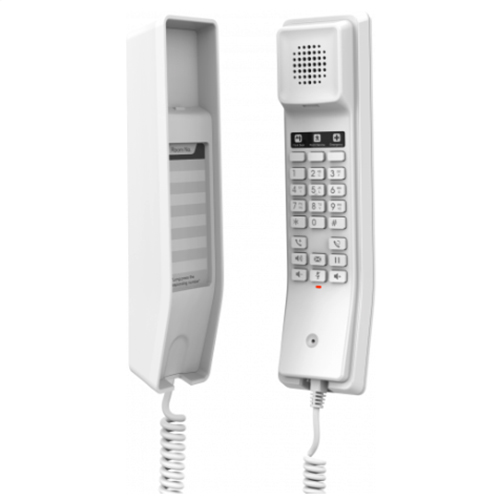
This guide is specifically for the GHP61x/W range of Hotel Phones
 OR
OR 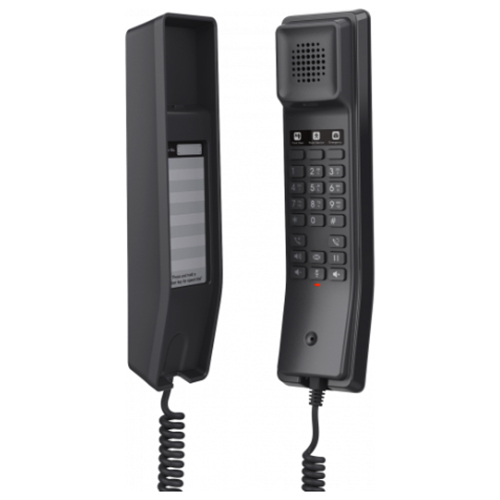
STEP 1 - CONNECTING THE PHONE
- Plug the phone cord to handset RJ11 port and then connect it to the base
- Connect the LAN port of the phone to the RJ45 socket of your hub/switch using an Ethernet cable. This step can be skipped is using GHP610W & GHP611W wit Wi-Fi.
- Power up the phone
- For the GHP610W/GHP611W, these are preconfigured to connect to a default SSID named "wp_master" with the password wp!987@dmin. Users can also modify these settings from the phone's web UI.
STEP 2 - LOCATING THE PHONE'S IP ADDRESS
- Ensure the phone is powered up and connected to the internet
- Dial **47# and the current IP address be announced.
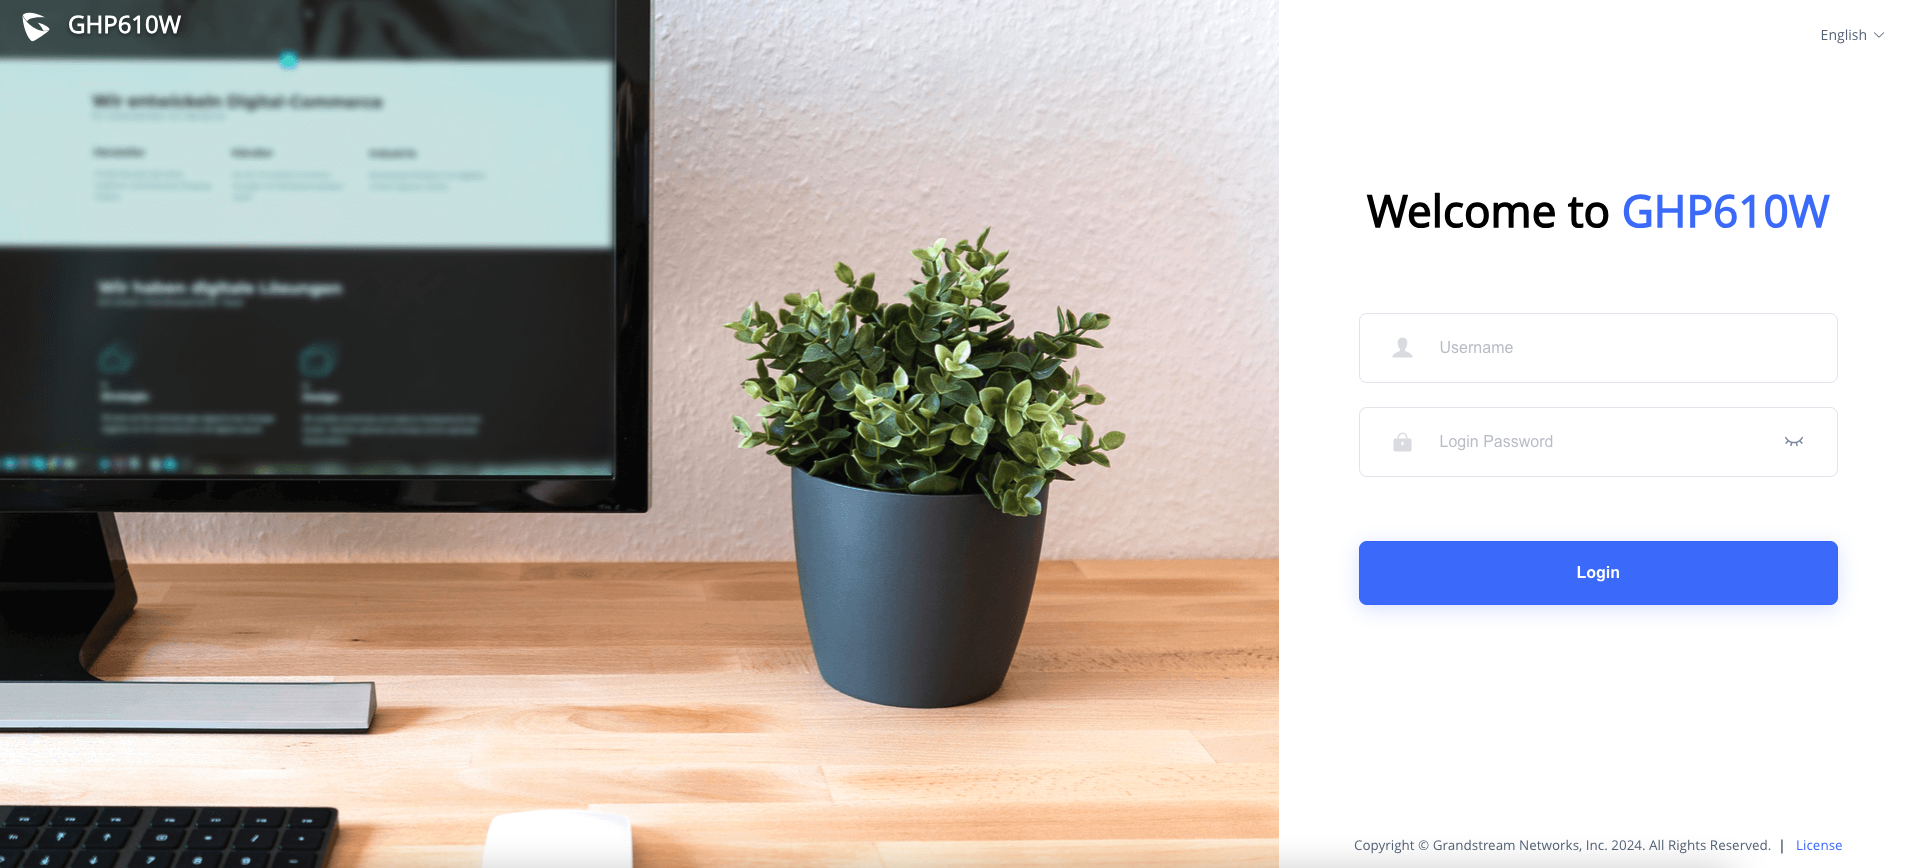
- You will then enter this IP address into your web browser and be presented with the following login page
Enter the admin username and password to access the configuration menu (the factory default username is admin and the default random password can be found on the stick on the back of the phone.
Once logged in you will be required to change the default password to one of your own.
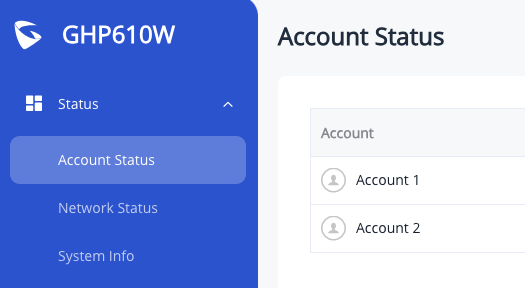
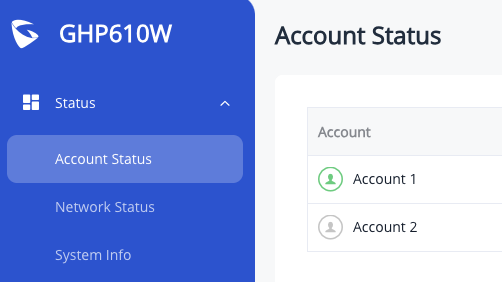
And then you wil come to the ACCOUNT STATUS page
STEP 3 - CONFIGURING YOUR ACCOUNT
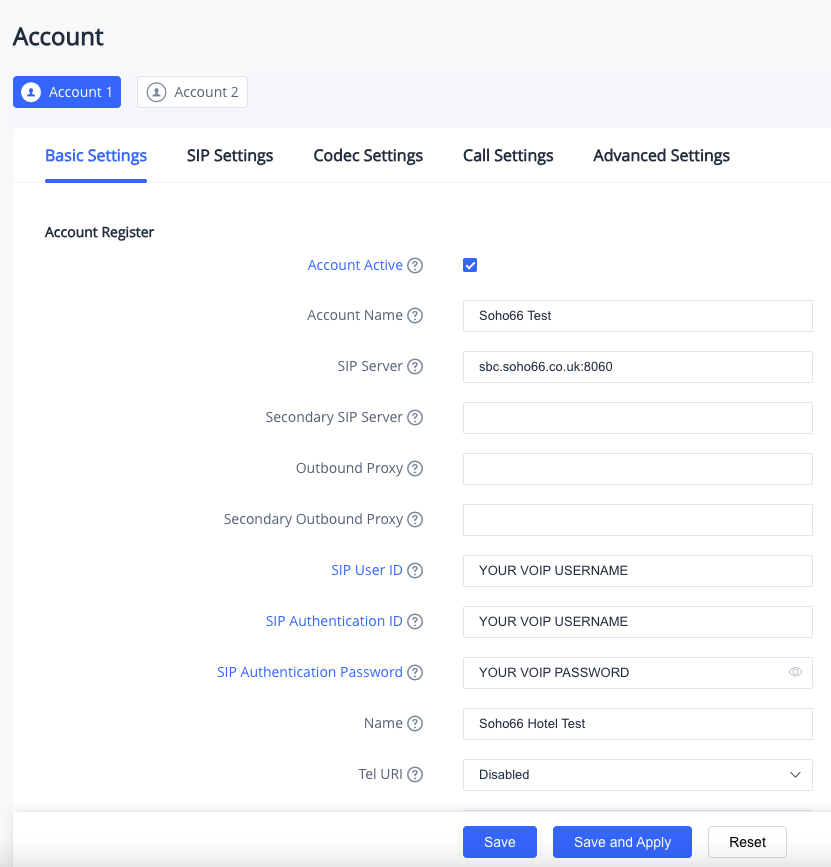
Head to the ACCOUNT menu on the left side, and then choose ACCOUNT 1 and make the following changes:
- Tick the “Account Active” box
- Set “Account Name” to anything you wish
- Set “SIP Server” to sbc.soho66.co.uk:8060
- Set “SIP User ID” to your VoIP Username
- Set “Authenticate ID” to your VoIP Username
- Set “SIP Authentication Password” to your VoIP Password
- Set “Name” to anything you wish
Click SAVE AND APPLY.
STEP 3 - SETTINGS THE SIP SETTINGS
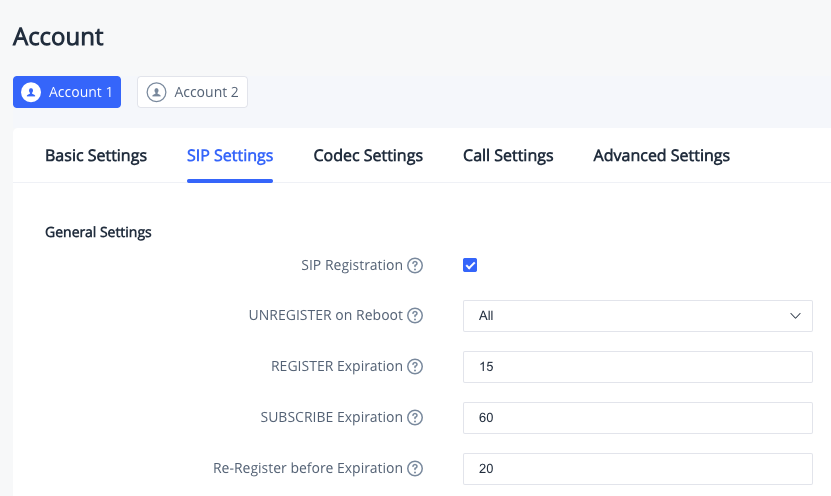
Head to the SIP SETTINGS tab and make the following changes:
- Set “Unregister on Reboot” to All
- Set “Register Expiration” to 15
- Set “Re-Register before Expiration” to 20
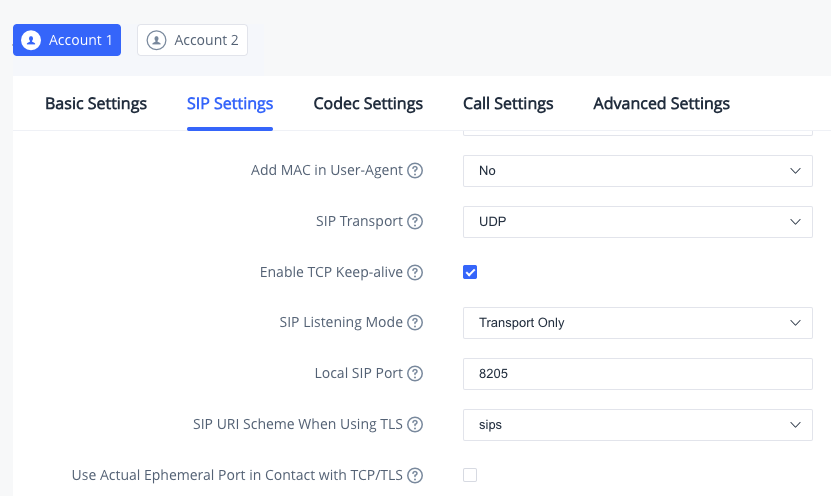
then scroll down and find the LOCAL SIP PORT field:
- Set “Local SIP Port” to 8061
Please note, The local SIP port number of 8061 should be used for a single device registered to a network. However, if you have multiple devices on the same network, the local SIP Port MUST be unique. For example, the first phone registered would, as above, have the local SIP port of 8061. The second phone registered would need to have a different local SIP Port registered, which would be 8063. A third phone would be registered against the local SIP Port of 8065, so on an so forth.
Finish this section by again clicking SAVE AND APPLY.
STEP 4 - SETTING THE ADVANCED SETTINGS
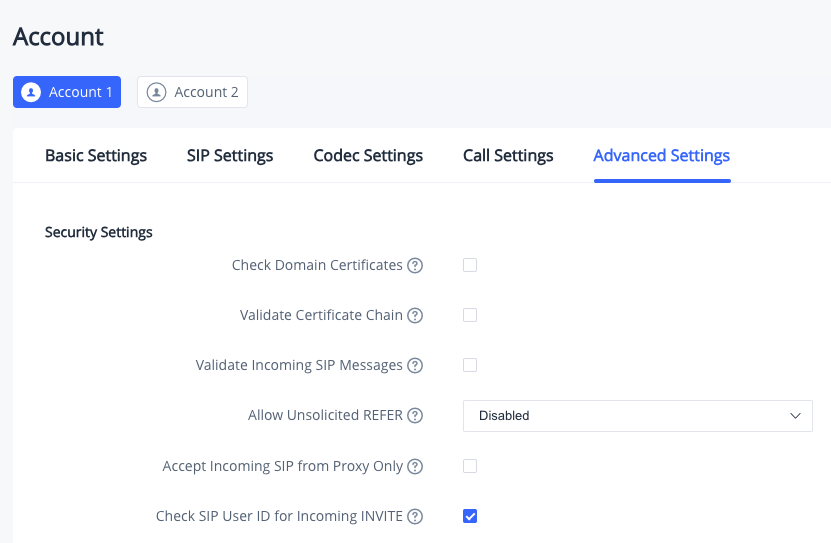
Now head to the ADVANCED SETTINGS tab and set:
- Tick the “Check SIP User ID for Incoming INVITE” box
After one last click of SAVE AND APPLY your phone should now be registered.
This can be verified by going back to the STATUS menu and checking for the green status icon against Account 1


